This post may contain affiliate links. Read my disclosure policy here.
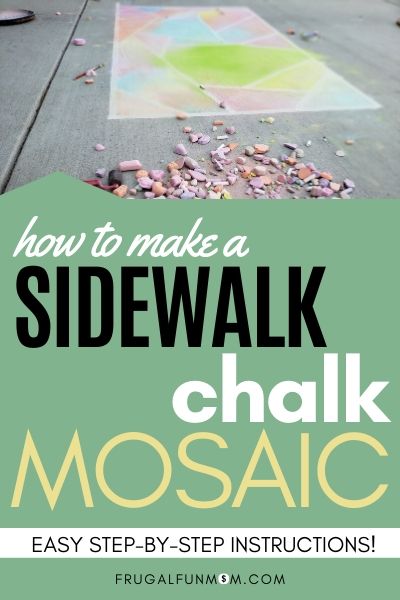
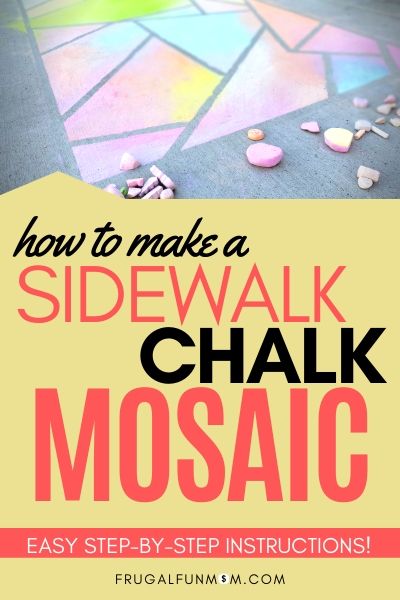
Wondering how to make a sidewalk chalk mosaic? This is a really fun activity to do with kids of all ages and once it’s finished, it looks amazing! Because I know you are always looking for ways to have fun with your kids that don’t cost a lot money, you are going to love this idea!
A sidewalk chalk mosaic only requires a few simple supplies that you probably already have at home and the finished product is really cool! Plus, you don’t have to be an accomplished artist to complete a lovely sidewalk chalk mosaic!
Hang on tight and I’ll give you a list of supplies, as well as step-by-step photo instructions on how to make a sidewalk chalk mosaic with your kids.
WISH PLANNING A PARTY WAS A PIECE OF CAKE?
Want to remember this post? Pin this post, How To Make A Sidewalk Chalk Mosaic, to your favorite Pinterest board right now!
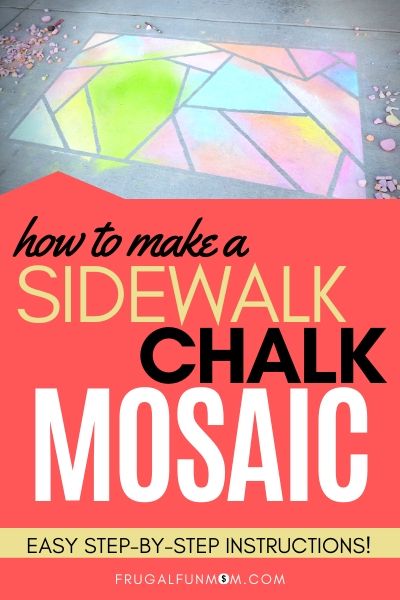
How To Make A Sidewalk Chalk Mosaic
The best part about making a sidewalk chalk mosaic is that it’s fairly simple to make and looks like it’s really hard! I love when something easy looks a lot harder than it is – makes me feel like a supermom! A sidewalk chalk mosaic is one frugal activity I know you and your kids are going to love!
The first time you make one, you will need to help your kids, but by the second time, they should be able to do it on their own! Think of this activity as a great task you can teach your kids that keeps them busy for quite a while – plus it gets them outside in the fresh air.
Benefits of Drawing with Sidewalk Chalk
There are many benefits to drawing with sidewalk chalk. My favorite benefit, you get to be outside! Also, you can’t mess up your drawing too much. If you do make a mistake, just use a little bit of water to clean it off and start over.
My youngest son hates to mess up on stuff, so we have a small spray bottle that we keep handy for when he gets chalk where he doesn’t want it. Works like a charm.
Chalk It Up Birthday Party
If your child loves to draw with chalk, consider having a Chalk It Up themed birthday party – totally centered around chalk!
You can do all sorts of fun chalk activities like making homemade chalk, creating chalk mosaics, writing Happy Birthday chalk messages all over your driveway or sidewalk to the birthday child and playing tic tac toe and hopscotch. Make homemade chalk ahead of time and give that to each guest in their goody bags!
Supplies Needed to Make A Mosaic
You don’t need much to make these gorgeous mosaics – but there is one item you must have in order for it to work correctly! Any guesses? Yep, you guessed right – masking tape!
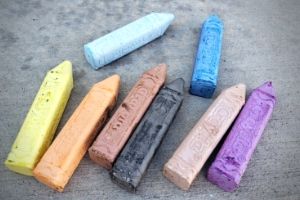
Gather These Supplies
- Masking Tape – any size works
- Make your own Homemade Sidewalk Chalk or buy Crayola Chalk (it’s the BEST store bought chalk out there- for sure!)
- Large area of Sidewalk or Driveway
Find Good Chalk
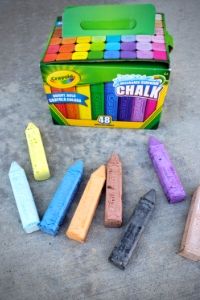
Technically, any chalk will work, but if you want your design to look amazing, you need good chalk. If you don’t have time to make your own Homemade Sidewalk Chalk, then get Crayola Chalk.
Crayola makes amazing chalk, no question about it! The colors are vibrant and when you are making a really cool chalk drawing, you want colors that pack a punch.
We have the Crayola 48 color pack and love it! The best part about the 48 different colors included is that there is black, a couple different shades of brown, and all shades of skin tones (which really come in handy when you are drawing a princess for the neighbor girls to look at).
Masking Tape For The Win!
For the masking tape, you can use any size you have. In fact, I used a bunch of old rolls of masking tape that we had left over from all the painting projects we have done in our house.
When the roll gets a little old, they don’t work all that well for painting anymore because they tend to rip a lot. Don’t throw those old tape rolls away! They work perfect for this craft!
Old, extra sticky tape is perfect for sticking to the driveway to make sidewalk chalk mosaics. We used both 3/4in and 1in old masking tape, and both of them, made beautiful designs. We did try blue painter’s tape and it didn’t work very well, it peels off too easy.
Step-By-Step Sidewalk Chalk Mosaic Instructions
Step 1: Pick Your Spot
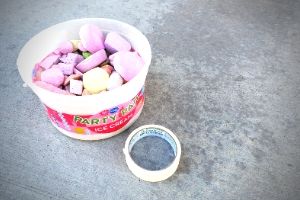
Find a good spot outside on concrete or you can even tape off an area on a fence! We did ours on the driveway and it worked great!
If you have multiple kids, give them each their own spot, unless you don’t have that much tape.
Step 2: Tape Off The Border
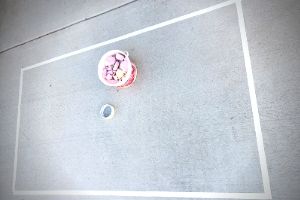
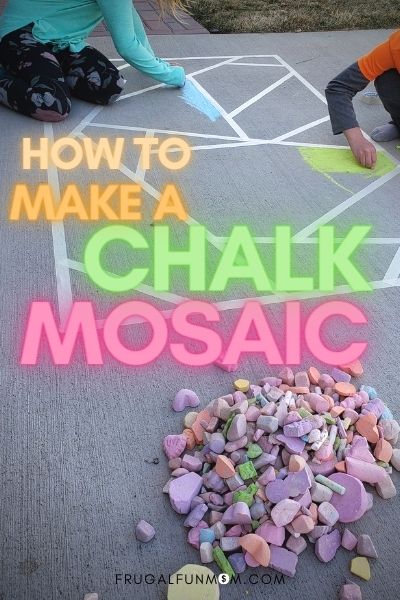
Tape off the border first. Make a border shape – you can do any shape you want, but make a full tape border of your shape.
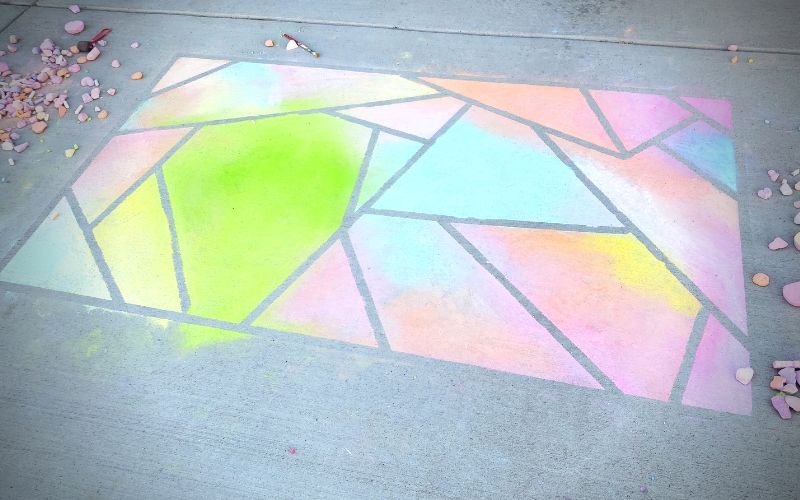
We did a long rectangle shape because my kids wanted the finished product to look like a stained-glass window from church.
You could also do a square, big triangle, or even a big circle – but that might be a little hard with tape. Whatever shape you want to do, go for it!
WISH PLANNING A PARTY WAS A PIECE OF CAKE?

Step 3: Make The Design
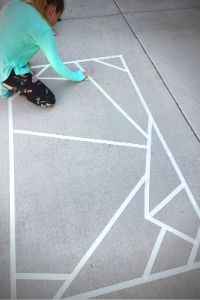
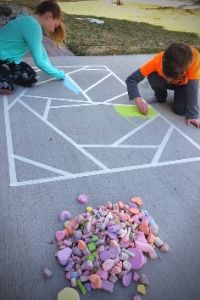
Now that you have the border done, it’s time to make the actual mosaic design inside the border. This can be as simple or as complicated as you want it to be.
We simply cut different lengths of tape and made sure our tape sections were always touching two other pieces of tape.
The shapes we began creating were mostly triangles. Create any design you want but keep the lines very clean, and make sure your tape is always fully touching two other pieces of tape.
Think of a stained-glass window when you are making your design to help you keep your line sections clean. This is a great time to help the kids. Keep adding tape until you are happy with your design.
Step 4: Check Your Tape Edges
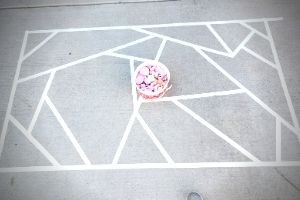
Before you start coloring your design, make sure the tape edges are completely stuck down to your surface.
If not, chalk will get underneath the tape and the lines won’t be as clean.
It will still look amazing no matter what, but if you are going for precise details, this is one detail you don’t want to miss.
Step 5: Start Coloring!
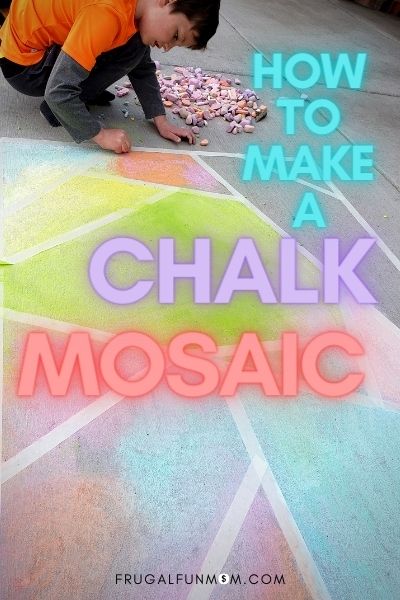
Now it’s time to start coloring! Using your sidewalk chalk, start coloring in your design! You can color it however you want! When we did our design, we used a lot of different colors and rubbed them together so they would blend nicely.
Make sure you color the entire section completely, all the way to the tape edges. Don’t color too hard or blend to vigorously near the tape edges, so that you don’t accidentally pull up the tape and get chalk underneath the tape.
Coloring Tip: If you use similar colors and blend them, it will give a nice ombre effect. Start by making stripes of the colors and then blend the edges together.
Make Your Own Homemade Chalk
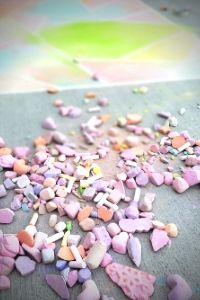
If you want to make this activity even more fun, make your own homemade chalk!
Katrina, how do we make homemade chalk? I’m so glad you asked! Lucky for you, I have a Homemade Chalk Recipe on my site right now that you can use!
We love to make chalk, it’s fun and frugal – but I’ll caution you right now, it does require a few supplies that you might not already have at home.
Make sure to read the post and purchase your supplies before you attempt to make the chalk.
Supplies You Need To Make Your Own Chalk
Make sure to read the Homemade Chalk Recipe first so you know exactly what you’ll need to make chalk, but if you want to get a head start, here are the supplies you’ll need.
- Plaster of Paris Dry Powder
- Tempura Paint
- Silicon Molds or Candy Melt Molds
- Over-sized Disposable Plastic Cups
- Plastic Spoons
Chalk does take a few days to make. Yep. It really does. You can make it one day, but it takes a few day to dry. Just make sure you plan for that if you are going to make your own chalk.
Step 6: Remove The Tape
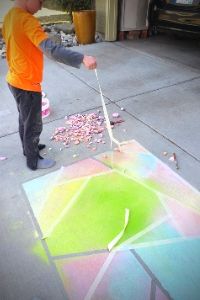
Once you are done coloring in your design completely, then remove the tape! Do this part slow so that you don’t mess up your design.
Once all the tape is removed, you will be left with a gorgeous design that all your neighbors will love!
WISH PLANNING A PARTY WAS A PIECE OF CAKE?

Make sure to gather up all your tape trash and throw it away! Then, admire your beautiful work!
Step 7: Take Pictures
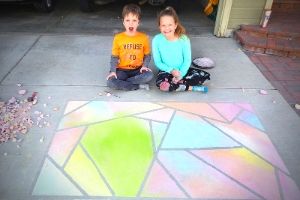
You are finished! Nice job! Pretty cool huh?! Now, take pictures of your design and upload them to my Frugal Fun Mom Facebook page! We’d love to see them!
That’s it! Simple and fun huh? I hope you and your kids love making sidewalk chalk mosaics together! I know we can’t wait to make more – I just need to find more tape!
Fall Sidewalk Chalk Mosaics
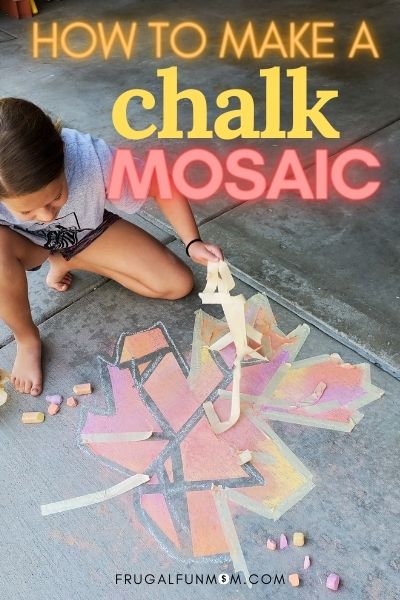
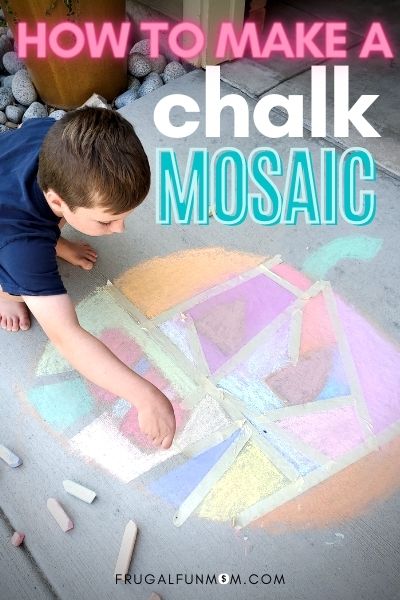
Summer isn’t the only time to make sidewalk chalk mosaics. Try making them in the fall too if the weather cooperates for you! You can make pumpkins, leaves, spiders, etc. Check out this post, Frugal Fall Crafts To Do With Your Kids, for some ideas on what fall themed sidewalk chalk mosaics look like!
Other Frugal Crafts Your Kids Will Love:
- How To Make Koolaid Playdough
- How To Make Homemade Chalk
- Free Fun Ideas For Kids
- Cookie Cutter Bird Feeders – Easy Craft For Kids
Want to remember this post? Pin this post, How To Make A Sidewalk Chalk Mosaic, to your favorite Pinterest board right now!

