This post may contain affiliate links. Read my disclosure policy here.
Wondering how to make homemade chalk? It’s not only easy, but frugal and fun for kids to do! I’m sharing how to make homemade chalk with three simple ingredients!
Summertime in my house means lots of time spent outside! My kids have always loved drawing all over my driveway with chalk and with this simple homemade chalk recipe, you will have lots of great chalk to draw with!
Plus your kids can help make it and they get to pick all the wonderful colors you make! Hang on, and I’ll share just how easy it is to make Homemade Chalk!
WISH PLANNING A PARTY WAS A PIECE OF CAKE?
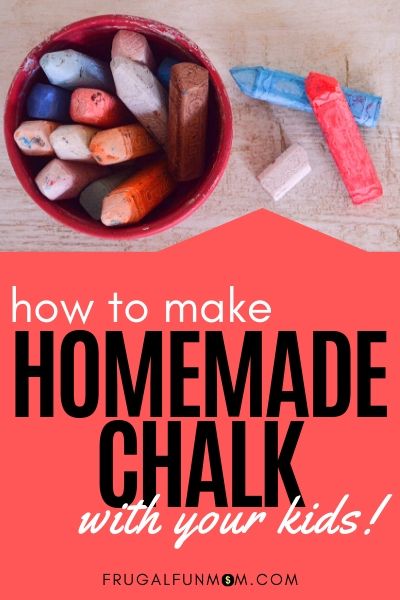
Want to remember this post? Pin this post, How To Make Homemade Chalk, to your favorite Pinterest board right now!
Great For Birthday Parties
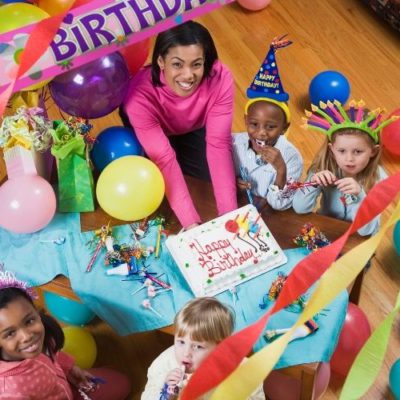
Homemade chalk is also great for birthday parties! You can use chalk in so many ways at a birthday party. Draw with chalk on your driveway while you wait for your all guests to arrive at the party, or use chalk to play some of your party games. Chalk is also really great for writing very big birthday messages on your driveway to wish someone happy birthday! You can even use chalk to tell your guests what to do, such as drawing a big arrow pointing towards your front door telling guests to just come inside!
Take it one step further and host a Chalk It Up Party – which is simply a sidewalk chalk themed birthday party! Play chalk games, draw with chalk, make chalk, and give chalk to your guests as their goody bag! Chalk ideas are endless and so much fun!
Escape The Summer Heat
We had many days this summer that we needed to escape the heat and be indoors and when we found ourselves bored, we’d either start baking or crafting! What better way to craft than to make homemade chalk?
Escape the summer heat and make homemade chalk with your kids! Share on XIn the past I’ve tried to make homemade chalk and let’s just say, it’s didn’t go so well. It involved a little bit of food coloring, and toilet paper rolls and by the time they dried 5 days later, we never could get them out of the toilet paper rolls! Don’t ask…it was a bad idea. So, it was time to try again with a whole new system!
Why Follow Directions?!
I did some looking around on Pinterest and found a great post by Princess Pinky Girl all about how to make your own sidewalk chalk. We followed this recipe pretty closely, but
I’ll be honest, I didn’t really measure everything and we used a lot more of the paint – I mean, who doesn’t want super bright colors? I’m so glad I did – because our colors are very bright and we love using these!
I did learn a few things along the way that might make it easier for you and I’ll share them in my instructions below. One thing for sure, we had to let our homemade chalk dry a lot longer than just 24 hours.
Thank you to Princess Pinky Girl for your great post and ideas! Below is my recipe adapted from Princess Pinky Girl, and what we actually did that worked well for us.
Make Your Own Homemade Chalk Recipe
Gather these items:
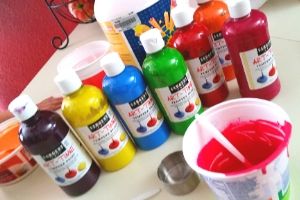
- Plaster of Paris Dry Powder (you can sometimes find big tubes at garage sales or local thrift stores. You can also buy on Amazon or at any local craft store).
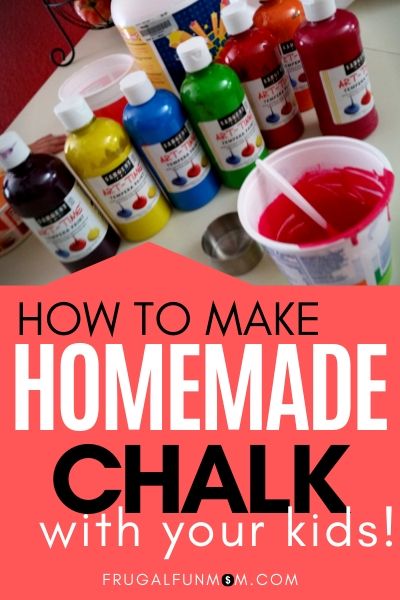
- Tempura Paint (I got 7 bright colors and got big sizes – 24oz bottles. I’ve seen these as low at $1 for each bottle at my local Hobby Lobby. You can also find at Walmart or any craft store).
- Silicon Molds or Candy Melt Molds (Keep an eye out for these a garage sales. You can also find at Walmart, or a local craft store. I think the silicon molds work the best, because the plastic candy molds can crack when you are trying to get the chalk out after it’s dried. The smaller molds allow the chalk to dry faster. You can use any shape you like).
- Over-sized Disposable Plastic Cups (at least 16oz)
- Plastic Spoons
- Water
Homemade Chalk Recipe:
Step #1: Mix
Mix up each color in it’s own disposable cup. I started out with only 3 colors to begin with because I have 3 kids and I wanted them to each have their own color to mix up.
The amount of colors you can make with this recipe will depend on how many molds you have on hand.
Step #2: Fill
Fill each cup up with about 3/4 cup of water.
WISH PLANNING A PARTY WAS A PIECE OF CAKE?

Step #3: Add Paint
Add about 1/2 cup of paint to the water and mix well. The original recipe says about 1/4 cup of paint, but I really liked the super bright colors that we achieved with 1/2 cup of paint.
Step #4: Add Plaster of Paris Powder
Next, add 1 cup of the dry Plaster of Paris Powder and start mixing with your plastic spoon. Make sure to mix really well.
I did learn that if you don’t get it all completely mixed up you will have pockets of the white Plaster of Paris in your dry chalk that never was mixed with the paint. Not a big deal, but a bummer when you are coloring something and it turns white on you.
Double check after your kid’s arms tire out and make sure there are no lumps.
Step #5: Pour Into Molds
Pour into molds and then very gently pound the mold on the counter to pop any air pockets or bubbles, and to completely flatten.
You can layer different colors in the molds, just don’t mix them up. It does dry with really cool swirls in it!
Step #6: Let Dry
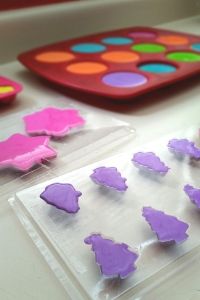
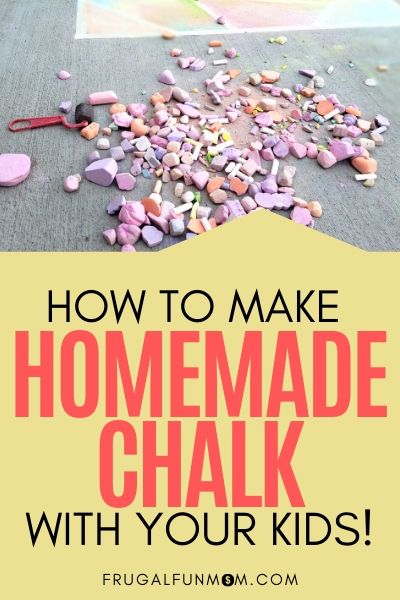
Let them dry for at least 3 full days before you try to take them out of the molds. They will pop right out of a mold when they are completely dry. If you try to pop them out too early, they actually crumble. Yes, this happened a few times to us.
The candy molds dried much faster than the silicon molds – but it also depends on how big your mold is. If you can set them to dry outside in full sunlight, they may dry much faster.
You can tell when they are NOT dry by the color change they have – the outside edges will dry lighter in color and if the inside is still well, it will look darker and like it has a wet spot on it. My candy molds dried in about 3 days and I did eventually turn them upside down so that the bottom would dry as well – a few actually fell out once they were dry.
Step #7: Use Your Chalk
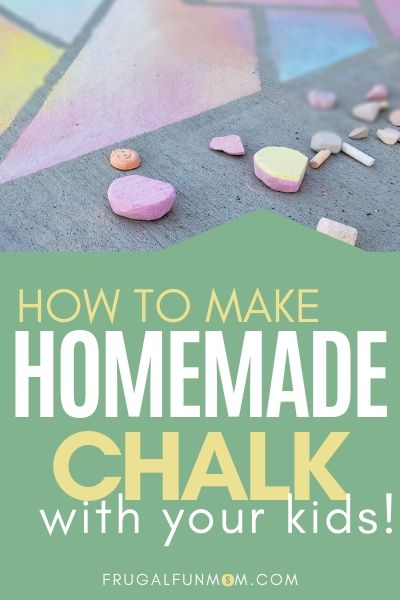
The colors are vibrant, bright, and so fun to use! My kids love this chalk and we have a great time using it! I love to make this homemade chalk recipe because you can control how bright the colors are by adding more paint.
My kids love to make homemade chalk! Share on XChalk Is A Great Gift
I can’t wait to make this recipe again and am now on the hunt for more fun candy molds at garage sales. I would recommend making this chalk with your kids – it’s really a fun, easy, and quick to make. Plus, it cleans up really easy and doesn’t make too much of a mess! They also make great birthday gifts for friends!
WISH PLANNING A PARTY WAS A PIECE OF CAKE?

Speaking of birthday gifts – read this post all about a great themed party you can throw for your child’s next birthday – How To Throw A Cheerleading Birthday Party!
Let me know if you try making homemade chalk! I’d love to see you photos of your chalk shapes! Jump on my Facebook or Instagram and let me see your homemade chalk creations! Share this post with a friend who you want to make chalk with!
Happy coloring!
Other Fun & Frugal Activities You’ll Like:
- How To Make A Sidewalk Chalk Mosaic
- How To Make Koolaid Playdough
- Cookie Cutter Bird Feeders – Easy Craft For Kids!

